In this chapter, we will study how to Insert Media in WordPress. Media files can be inserted to your Pages or Posts from libraries, from local storage or from URLs.
Following are the steps to Insert Media in WordPress.
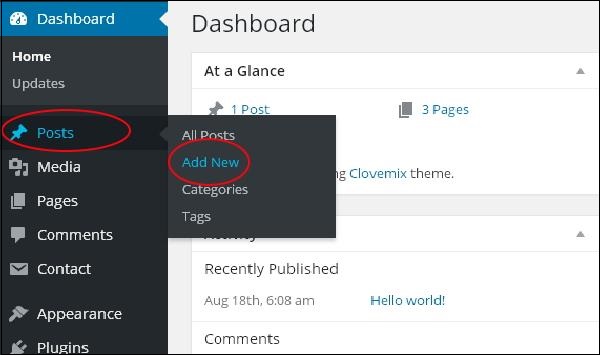
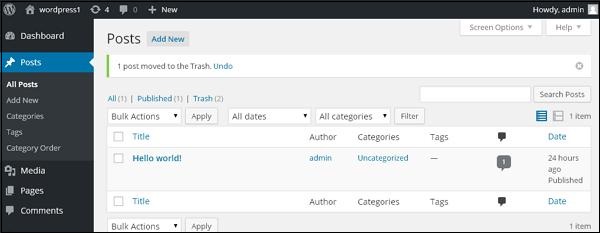
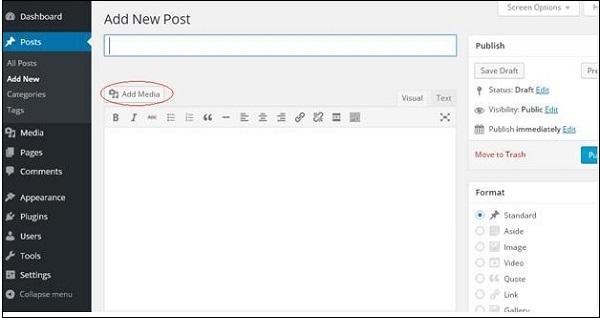
Step (1) − Click on Posts → Add New in WordPress.
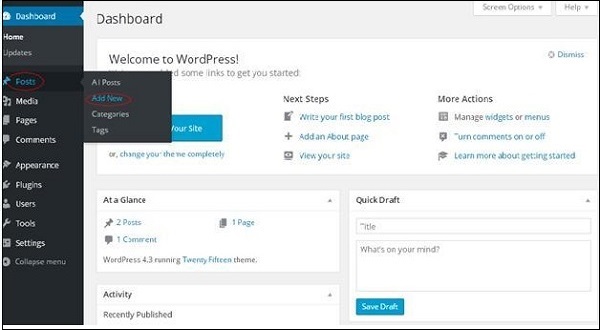
Step (2) − Click on Add Media.
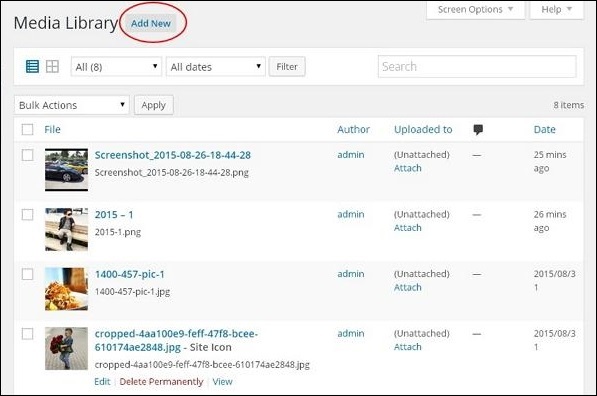
Step (3) − You can select the files from the Media Library tab as shown in the following screenshot.
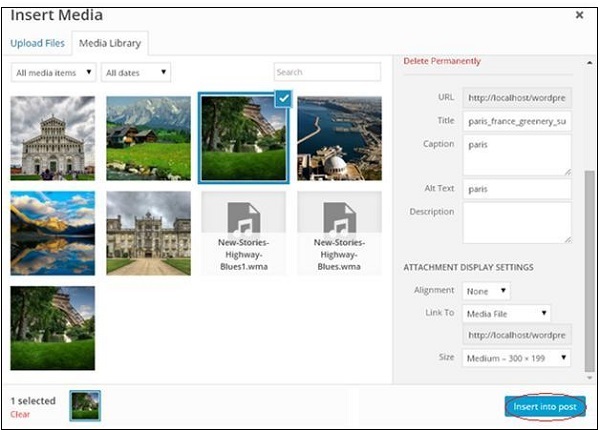
Information about the selected media file will be displayed on the right side of the screen under the Attachment Details. Click on Insert Post button, the image will be inserted into the post. In Attachment Details section, you will find information about the images such as URL, Title, Caption, Alt Text and Description
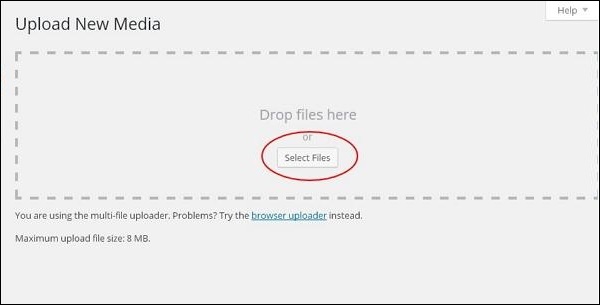
You can also insert an image directly from your system by clicking on Upload Files tab. Click on Insert into Post button.