wordpress customize plugins

In this chapter, we will study how to Customize Plugins in WordPress without writing any HTML or CSS. It’s usually a large addition for multi-user sites. This new method allows you to customize your login page by using the WordPress theme customizer (no coding skills required).
Following are the simple steps to Customize Plugins in WordPress.
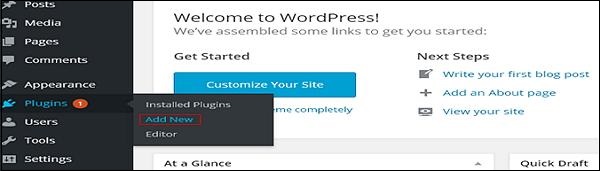
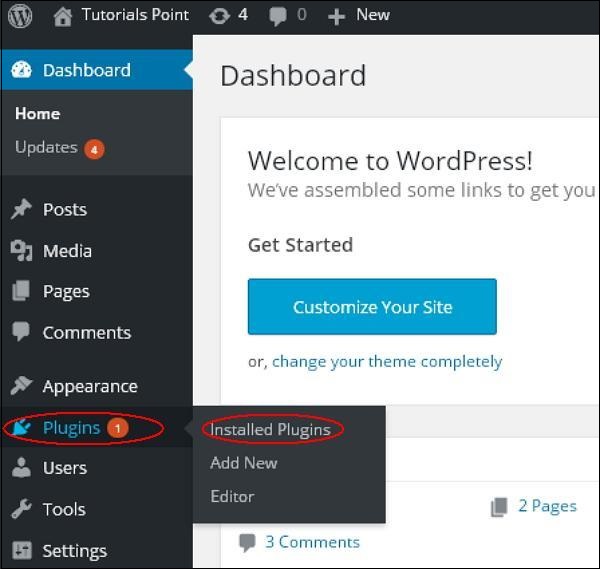
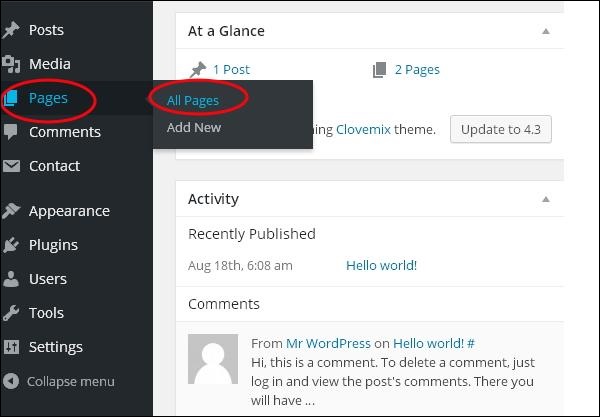
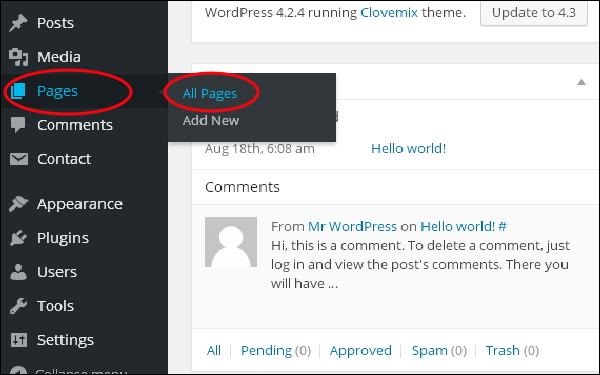
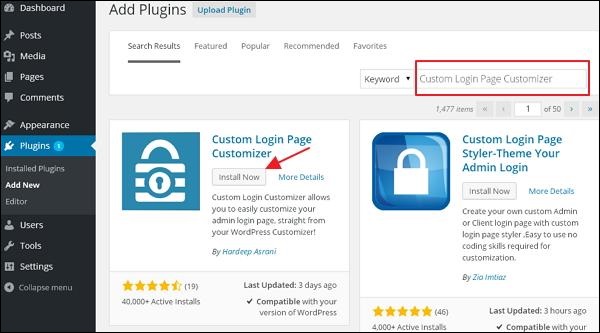
Step (1) − Click on Plugins → Add New.

wordPress customize plugins

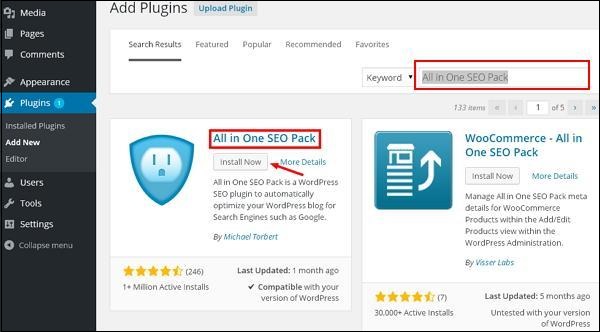
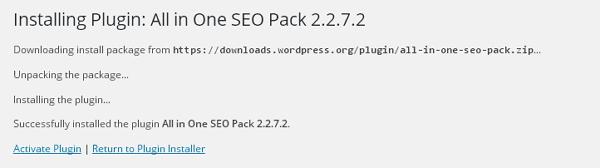
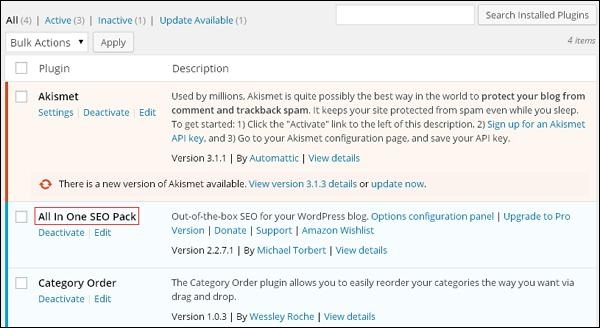
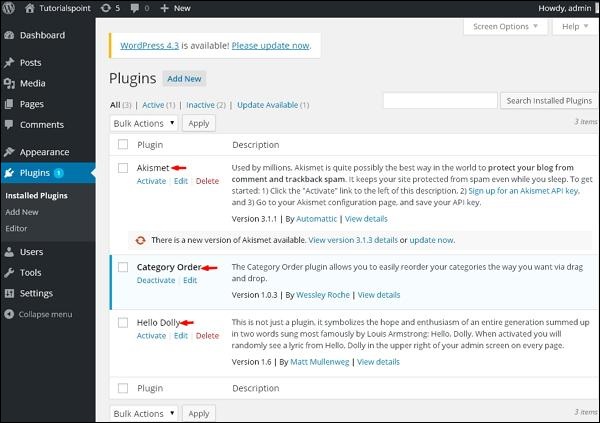
Step (2) − Install and activate the Custom Login Page Customizer Plugin.

wordPress customize plugins

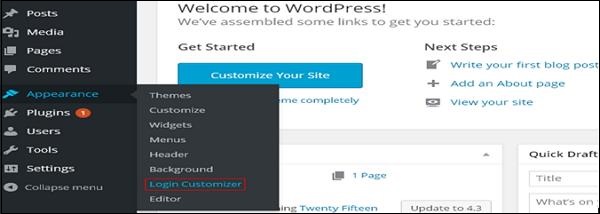
Step (3) − Click on Appearance → Login Customize section.

wordPress customize plugins

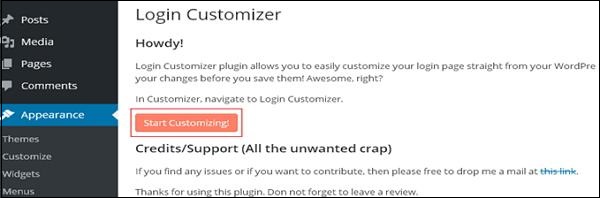
Step (4) − Click on Start Customizing button to proceed further.

wordPress customize plugins

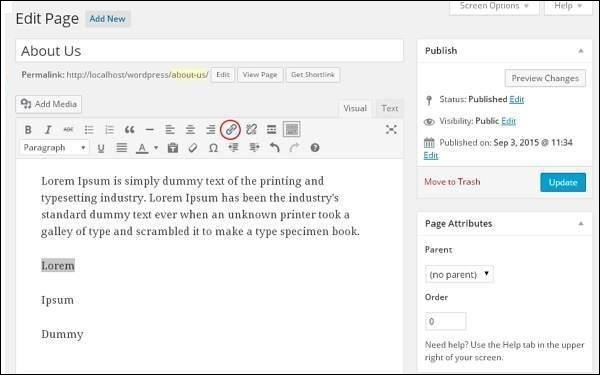
Step (5) − It will launch the built-in WordPress theme customizer. You can customize the theme and make it look the way you want.

wordPress customize plugins

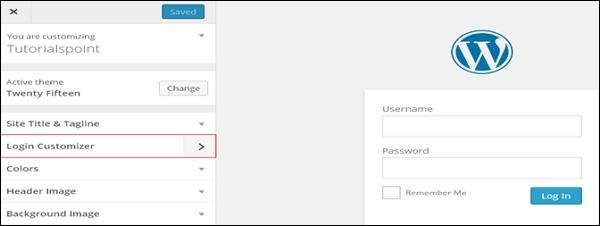
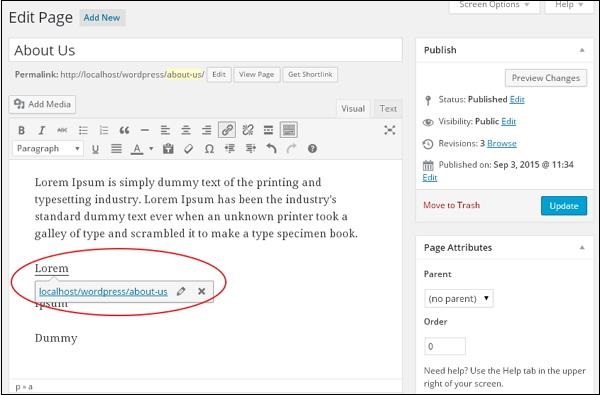
Click on the new Login Customizer tab in the side panel. Login customizer page will get displayed. On the login customizer page, you can customize your login page in the same way as you customize your WordPress theme.
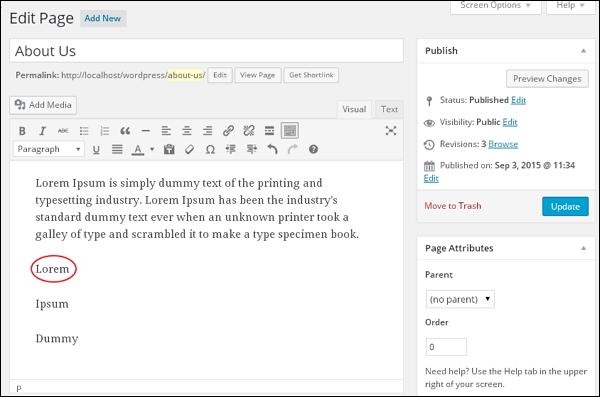
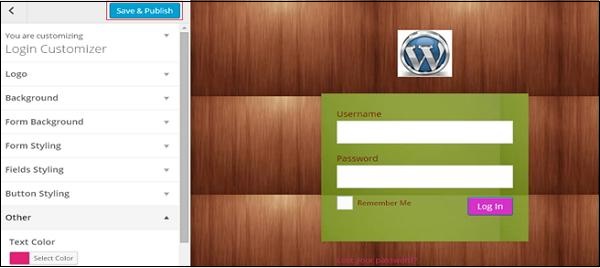
Step (6) − The customized login page will appear as shown in the following screen.

wordPress customize plugins

  • Logo − Upload logo of your choice to replace the default WordPress logo.
  • Background − Add background image or you can choose a background color of your choice.
  • Form Background − Select form background image or color for login form container of your choice.
Most of the selections in the customizer panel are transparent. You can check all the selections in the customizer to adjust the setting as per your requirement of your login page. Click on Save and Publish button.

                                         <<<   Back to WordPress Home

wordpress install plugins

In this chapter, we will study how to install plugins in WordPress. It is really easy to install plugins. All the plugins are free to download; the only condition is that a plugin must be in the WordPress directory.
Following are the simple steps to Install Plugins in WordPress.
Step (1) − Click on Plugins → Add New in WordPress.

wordPress install plugins

Step (2) − Enter your required plugin name in the search boxas shown in the following screen. List of plugins which are relevant to the plugins name will get displayed as seen in the following screen.

wordPress install plugins

Select the required plugin you want to use. Here, we have searched All in one SEO Pack plugin, which happens to be the first plugin as shown in the preceding screen. Click on install now button to install the plugin on your website.
Step (3) − The plugins automatically start downloading and installing.

wordPress install plugins

Click on Activate Plugin to activate the plugin on your website, which makes your task much easier using this plugin.
Step (4) − Once activated, you will see the installed plugin in the list of plugins as seen in the following screen.

wordPress install plugins

                     
                                           <<<   Back to WordPress Home

wordpress view plugins

In this chapter, we will study how to View Plugins in WordPress. It helps you to enable and disable WordPress Plugins. This adds the unique features to an existing web site. Plugins extend and enlarge the functionality of WordPress.
Following are the simple steps to View Plugins in WordPress.
Step (1) − Click on Plugins → Installed Plugins in WordPress administrator.

WordPress View Plugins

Step (2) − You will see the list of existing plugins on your site as seen in the following screen.

WordPress View Plugins

A table of Plugin and Description is displayed. Names of the plugins are defined in Plugin column and a brief description about the plugin is defined under Description column.

Toolbar

Following functions appear as Plugin toolbar options on the page −
  • Active − Shows the active plugins on the website.
  • Inactive − Shows the installed but inactive plugins on the website.
  • Update Available − Shows, if a new version is available or asks to update now.

                                        <<<   Back to WordPress Home

wordpress moderate comments

In this chapter, we will learn to Moderate Comments in WordPress. Comment moderation is a process where, when visitors comment on posts, the comment is not published directly until and unless it is approved by the admin to be posted. It manages your comments so that there is no comment spamming.
Step (1) − Click on Settings → Discussion in WordPress.

WordPress Moderate Comments

Step (2) − The Discussion Setting page gets displayed.

WordPress Moderate Comments

In the Comment Moderation field, enter those words or URLs you do not want any visitor to add comments. Whenever a visitor gives any comments it would be moderated by the admin first and then published.
Step (3) − Click on Save Changes.

                                                 <<<   Back to WordPress Home

wordpress edit comments

In this chapter, we will learn about how to Edit comments in WordPress. Editing comments can be done only by the admin.
Following are the steps to Edit Comments in WordPress.
Step (1) − Click on Comments in WordPress.

WordPress Edit Comments

Step (2) − You can view the comments list for the various pages. Select any comment, you want to edit. Click on edit.

WordPress Edit Comments

Step (3) − The Edit comment page gets displayed. You can edit the comment and click on Update Button.

WordPress Edit Comments

Here you can edit the name, e-mail, URL or the comment from the comment box.

                                          <<<   Back to WordPress Home

wordpress add comments

In this chapter, we will learn to Add Comments in WordPress. Adding comments allows your visitors to have a discussion with you. Comments are approved by the admin and then posted to be discussed further.
Following are the steps to add comments to your blog posts.
Step (1) − Click on Pages → All Pages in WordPress.

WordPress Add Comments

Step (2) − The list of pages created in WordPress will get displayed as seen in the following screen. Select any of the pages you want to add comments to. Here, we are going to add comment in About Us page. Click on About Us.

WordPress Add Comments

Step (3) − To add a comment on this page, click on Screen options present at the top right hand corner.

WordPress Add Comments

Step (4) − The dropdown list of Screen Option gets displayed. Check the Discussion and Comments box as shown in the following screen.

WordPress Add Comments

Step (5) − You can now view the Discussion and Comments box at the bottom of your page.

WordPress Add Comments

In the Discussion section, there are two options present −
  • Allow Comments − Allows visitors to comment on your blog posts and pages.
  • Allow trackbacks and pingbacks on this page − Allows visitors to give pings and trackbacks.
In the Comment section, you can add comments by clicking on Add Comment button.
Step (6) − Click on Update button after adding the comment box.

                                         <<<   Back to WordPress Home

wordpress delete links

In this chapter, we will learn to Delete links from WordPress. You can remove the unwanted links which you don’t need for your website or article.
Following are the steps to Delete Links in WordPress
Step (1) − Click on Pages → All Pages in WordPress.

WordPress Delete Links

Step (2) − You can view the list of pages. When the cursor hovers on the About Us page, then a few options gets displayed. Click on the Edit button as shown in the following screen.

WordPress Delete Links

Step (3) − Select the word which you had already linked i.e. Lorem (Link for word Lorem was created in the chapter WordPress – Add Links), and click on the Remove Link Symbol as seen in the following screen.

WordPress Delete Links

Step (4) − When you hover on the word Lorem, there will be no tooltip of the existing URL. The following screenshot shows that the link has been deleted.

WordPress Delete Links

                                                   <<<   Back to WordPress Home

wordpress edit links

In this chapter, we will study how to edit link in WordPress.
Following are the simple steps to Edit Links in WordPress
Step (1) − Click on Pages → All Pages as shown in the following screen.

WordPress Edit Links

Step (2) − You can view the list of pages. When the cursor hovers on the About Us page, then a few options get displayed below About Us. Click on Edit as shown.

WordPress Edit Links

Step (3) − Hover on the word Lorem (Link for word Lorem was created in the chapter WordPress – Add Links), and click on the pencil symbol to edit the link as shown in the following screen.

WordPress Edit Links

Step (4) − You can change or edit your link by selecting the page from the existing list. In this case, we have selected the About Us page.

WordPress Edit Links

After selecting the particular page or post from the list, then click on Update button.
Step (5) − When you hover on the word Lorem then the link tooltip get displayed as seen in the following screen.

WordPress Edit Links

Click on Update button to update the changes in your page or post.

                                                <<<   Back to WordPress Home

wordpress add links

In this chapter, we will learn to Add Links in WordPress pages. Link is a connection from one resource to another. Adding links to your pages or blog posts help you to connect to other pages.
Following are the simple steps to Add links in WordPress.
Step (1) − Click on Pages → All Pages in WordPress.

WordPress Add Links

Step (2) − List of pages created in WordPress will get displayed as shown in the following screen. Select any of the pages to add links inside it. Here, we are going to add links in About Us page.

WordPress Add Links

Step (3) − Select any of the sentence or word where you want to add link. Here, we will add link to the word Lorem.

WordPress Add Links

Step (4) − When you click on the Insert/Edit link symbol then the following pop window gets displayed.

WordPress Add Links

Following are the fields present in the Insert/edit link.
  • URL − Enter URL you want to link.
  • Link text − Insert text you want to enter into the link.
  • Open link in a new window/tab − Open your link page into the new tab or window. Check the box as required.
  • Or link to existing account − Add links to an existing content page by selecting the page from the given list. Click on Or link to existing account and the list of pages and posts gets displayed as shown in the following screen.

WordPress Add Links

After selecting the particular page or post from the list, the links get created in the URL field as seen in the preceding screen. Click on Add Link.
Step (5) − When you hover on the word Lorem then the link tooltip gets displayed as shown in the following screen.

WordPress Add Links

Click on Update button to update the changes in your page or post.

                                        <<<   Back to WordPress Home

wordpress delete tags

In this chapter, we will learn to Delete tags in WordPress.
Following are the steps to delete tags in WordPress.
Step (1) − Click on Posts → Tags in WordPress.

WordPress Delete Tags

Step (2) − You can delete tag Food around the world (Food around the world was created in the chapter WordPress – Add Tags), when the cursor hovers on the Tags, then a few options get displayed below the Tags name. Click on Delete in tags section as shown in the following screen.

WordPress Delete Tags

When you click on delete, you will get a pop message asking for confirmation to delete.

WordPress Delete Tags

You can click on OK button and delete the tag permanently.

                                         <<<   Back to WordPress Home